Got a teddy bear with wobbly limbs? Not to worry – there are several brilliant ways to sort this at home without spending a fortune. One of my favourite fixes involves threading ordinary safety pins through the joint with small washers (about the size of a penny) to keep everything properly secured. For something a bit more traditional, you might fancy trying a figure-eight double-stitch pattern, which works wonders for reinforcing loose arms and legs.
If you're after a quick fix, specialised fabric glue from any decent craft shop (usually around £3) does the trick brilliantly for minor repairs. Mind you, if you're dealing with a cherished vintage bear, I'd recommend using thin craft wire instead – it's rather more permanent and quite gentle on old joints.
Rather keen on a spot of crafting? Threading elastic cord in a figure-eight pattern can breathe new life into your bear's joints, restoring that lovely natural movement. Each method has its own clever little quirks, and I've found some work better than others depending on how loved your teddy happens to be.
Key Takeaways
Got a floppy teddy that needs sorting? These fixes should do the trick – they've worked brilliantly on my children's beloved bears over the years.
A clever way to mend loose joints is with safety pins and washers. Simply thread the pin through the wobbly bit and secure it with metal washers on each side. It works a treat and keeps the joint nicely moveable.
For those really worn spots, I prefer using a double-stitch method – weaving the thread in a figure-of-eight pattern creates brilliant stability. Make sure to anchor your stitches properly, though, or they'll work loose again.
Sometimes a dab of fabric glue is all you need. Just run a thin line along any torn seams, press firmly for three minutes, and leave it overnight. Mind you don't use too much, or it'll get rather stiff.
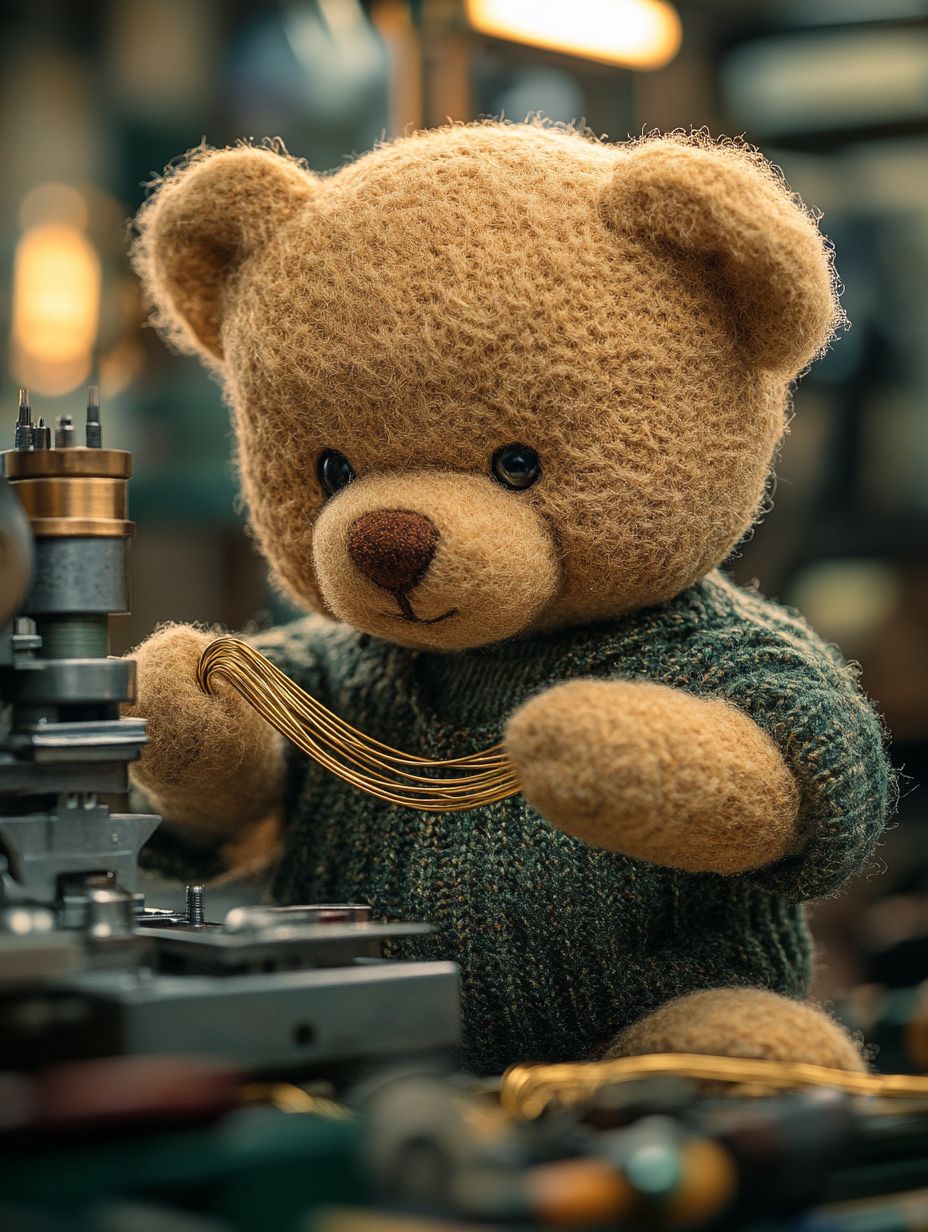
Craft wire can be brilliant for repairs – thread it through the joint, give it a good twist with pliers, and tuck the ends away into the stuffing. Dead simple, really.
If you're feeling particularly crafty, try replacing knackered joints with elastic cord. Thread it through in a figure-of-eight (not too tight, mind – you want the bear to still move about naturally). It's fiddly work but well worth the effort.
Safety Pins and Washers Method

A clever way to sort out wobbly teddy bear joints is with safety pins and washers – it's really quite brilliant in its simplicity.
You'll want medium safety pins, some penny-sized metal washers, and basic sewing bits to get started. Pop your bear onto a clean surface and have a proper look at which joints need fixing up – the arms and legs tend to be the usual suspects.
Start by carefully unpicking a small section of seam (about 2cm should do) nearest the loose joint. Thread your safety pin through the existing joint disc or stuffing, then pop a washer onto each end. These little metal discs work a treat as anchors, keeping everything properly in place rather than wobbling about like a tourist at Oxford Circus.
Give the joint a good wiggle before you sew it back up – you're after smooth movement without any floppiness. Once you're happy with how it moves, stitch up that seam using matching thread.
Keep your stitches small and tidy – it makes all the difference to the finished look. This fix works brilliantly on most teddies, though if you've got a particularly portly bear weighing more than 500g, you might need to grab some bigger washers.
Mind you, I've seen this method breathe new life into some properly ancient bears that seemed beyond hope.
Double-Stitch Reinforcement

Double-stitch reinforcement is one of those brilliant little fixes that often gets overlooked. If you've got a beloved teddy with wobbly limbs, this clever technique sorts things right out without having to faff about with extra bits and bobs.
It's particularly handy for those cherished vintage bears – the ones worth a decent amount that you'd rather not spoil with modern fixtures.
You won't need much – just grab a sturdy needle and matching thread. The whole thing shouldn't take more than quarter of an hour if you're focused. Have a proper look at the loose joint first, and clear away any tatty old stitching that's hanging about.
The actual process is rather straightforward:
Start with your first reinforcement stitch – push the needle through both sections twice in a figure-eight pattern. Layer three or four more stitches right on top, keeping the tension even throughout. Pop in three tiny anchor stitches hidden in the seam to finish things off properly.
Do give the joint a gentle wiggle after each layer – you're looking for something that moves naturally but holds firm, rather like a well-oiled door hinge. The shoulders and hips tend to benefit most from this method, especially where those pesky joint discs have worn away over the years.
Fabric Glue Joint Repair

For minor joint repairs, fabric glue can be a handy alternative when you can't face getting the needle and thread out.
Pop down to John Lewis or your local haberdashery and look for proper plush toy adhesive – it shouldn't set you back more than £3.
Before you start, give the damaged area a quick once-over with a lint roller to get rid of any loose bits.
Squeeze out a decent 5mm line of glue around the joint – but don't go mad with it, or you'll end up with a right mess.
You'll need to hold everything together for about three minutes (perfect excuse to catch up on Eastenders, that).
If you're after extra security, wrap a bit of cotton tape around while it sets – rather like bandaging up a poorly teddy.
The tricky bit is leaving it alone for 24 hours somewhere with decent air flow.
Whilst it's not quite as bombproof as proper stitching, fabric glue's brilliant when you're in a rush and need a quick fix.
Mind you, best keep it away from little hands until it's properly dry – nobody wants sticky fingers on their favourite bear.
Wire Threading Technique

Threading Wire Through Old Bears
Ever had a beloved teddy whose limbs have gone a bit floppy? A bit of clever wire threading can work wonders. Whilst it might sound daunting, you really only need some thin craft wire (roughly 0.8mm should do), a decent pair of needle-nose pliers, and a proper spot to work – the kitchen table's brilliant for this sort of thing, provided you've got decent lighting.
Mind you, it's not rocket science, though one should be rather gentle with the old bear. Look for the original joint holes first – they're usually quite obvious – or make fresh ones with a leather punch if needed. The trick is choosing wire that's sturdy enough to hold everything in place without making a mess of the fabric.
Getting down to business, thread your wire through both joint points, leaving a couple of centimetres spare on each end. Give them a proper twist with the pliers – you'll want to make sure they're good and tight. Afterwards, tuck those twisted bits carefully into the stuffing, lest they catch on anything.
Properly done, this fix should keep your teddy right as rain for ages, though you might need to fiddle with it now and then. If it's a particularly special bear, pop down to your local haberdashery for some brass wire.
Yes, it's a touch dearer at £3 per metre, but it won't go rusty like regular wire might. Rather worth the extra bob or two, I'd say.
Elastic Cord Joint Replacement
Elastic cord makes a brilliant choice for sorting out wobbly teddy bear joints – I'd say it's leagues better than wire, especially on modern bears.
Pop down to your local haberdashery and look for elastic cord around 1-2mm thick, depending on how large your bear is. A metre should do the job nicely, and it won't set you back more than a couple of quid.
First things first, you'll need to carefully unpick the seam nearest to that loose joint. Once you've cleared out any old bits and bobs, thread your elastic through using a bodkin or safety pin to guide it along.
The key bit is creating a sort of figure-eight pattern between the limb and body – rather like you're lacing up a proper pair of Church's brogues. Get the tension right – you want it firm but not rigid – then tie it off with several good strong knots.
Before you sew everything back up, give that joint a proper wiggle to make sure it moves naturally. That's the brilliant thing about elastic, really – it keeps everything snug whilst still allowing proper movement.
Once you're happy with how it all works, just stitch up the seam with matching thread and Bob's your uncle – good as new.
Conclusion
There you have it – five brilliant ways to sort out those wobbly teddy joints, and each one's as straightforward as brewing a proper cuppa. Pop in some safety pins, add a few reinforced stitches, dab on a spot of fabric glue, work in a bit of wire, or thread through some elastic cord – whatever takes your fancy. Your treasured bear will be right as rain and back to proper cuddles before you know it. Mind you, it does take a dash of patience, but these tried-and-tested fixes are well worth the effort. Rather satisfying, really, getting your old chum back into proper working order for more years of faithful service.


