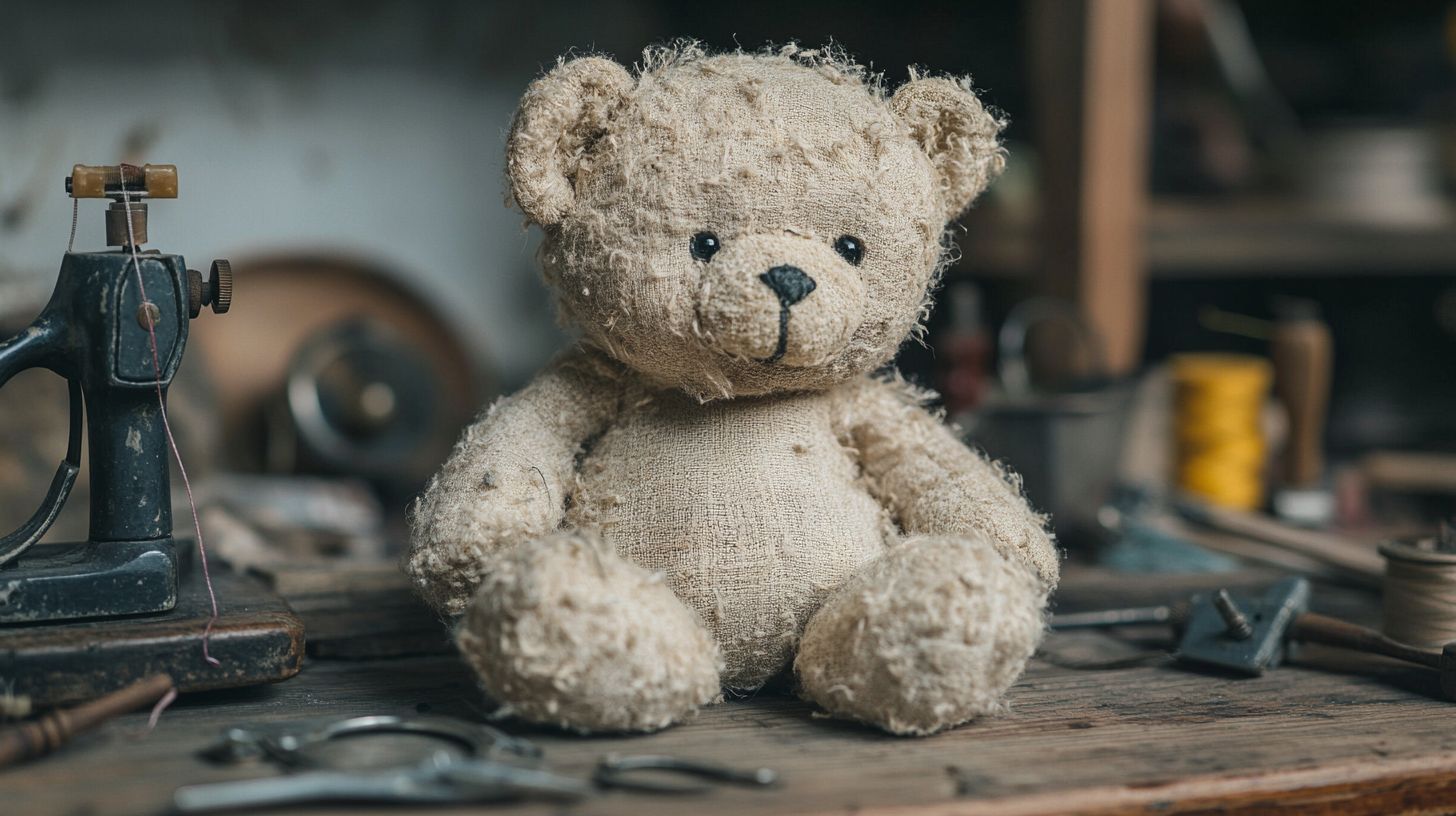
Bringing a beloved teddy back to life isn't as tricky as you might think – all you need are a few basic supplies from your sewing box and a dash of patience. Pop down to your local haberdashery for the essentials: decent scissors, a selection of needles, matching thread, and some polyester stuffing (most shops sell bags for about £3).
Those pesky loose seams and tiny tears are easily sorted with a neat ladder stitch – keep the stitches roughly 3mm apart for best results. If you're replacing button eyes, make sure to use proper strong thread and buttons around 12-15mm across. Mind you, it's worth taking extra care with the eyes, especially if the bear's destined for little hands.
Got a grubby bear? A gentle soak in lukewarm water with wool wash should do the trick. For matted fur that's seen better days, a soft wire brush works wonders – though do be gentle, as overzealous brushing might make matters worse. Keep a few safety pins handy whilst you're working; they're brilliant for holding bits together temporarily.
Really, there's hardly a poorly teddy that can't be put right with a bit of TLC. Even those really tatty old favourites from the attic might surprise you with how smart they can look after some careful mending.
Key Takeaways
Fixing Your Teddy Bear at Home
Before diving in with needle and thread, have a proper look at what needs mending on your beloved bear. Check those threadbare patches, any splits along the seams, and give the stuffing a gentle squeeze to find any flat bits.
For straight tears, a simple running stitch usually does the trick, though I prefer using a ladder stitch for those awkward jagged rips – it's practically invisible when done properly. The key is matching your thread colour as closely as possible to keep repairs discreet.
Lost button eyes are a common issue, and whilst you might be tempted to use any old buttons, it's worth getting proper matching ones (usually around 12-15mm works brilliantly). Secure them with a criss-cross stitch and double knots – you definitely don't want them coming loose again.
If your bear's gone a bit floppy in places, fresh polyester stuffing works wonders. Make a tiny opening if needed, and use a chopstick to poke the stuffing into those hard-to-reach spots. Sometimes it takes a bit of patience to get the firmness just right.
As for cleaning, best check the care label first – some bears handle a gentle machine wash whilst others need a careful hand wash with mild soap. Whatever you do, don't tumble dry the poor chap – air drying is much safer for these cherished companions.
Essential Repair Tools and Supplies
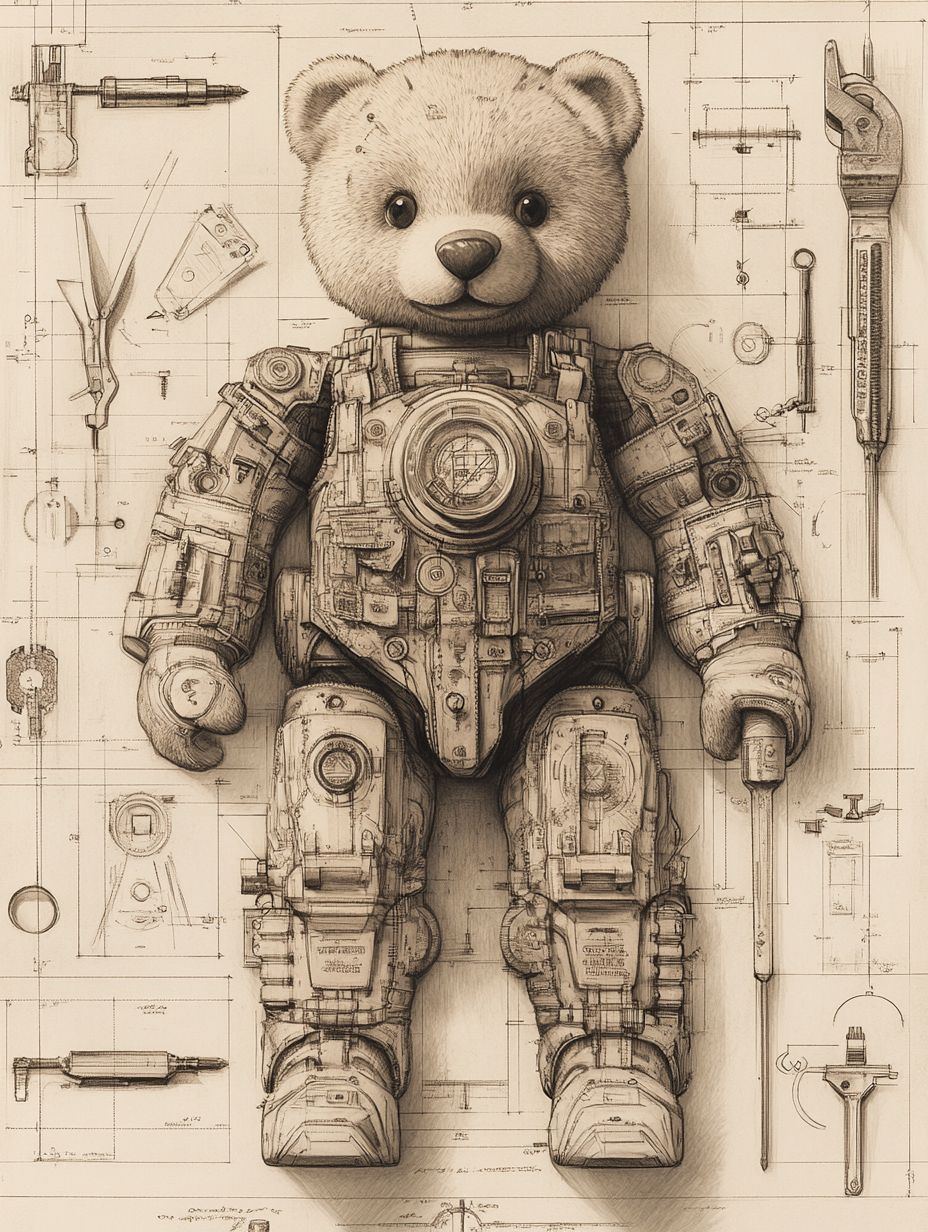
For anyone looking to mend a cherished teddy bear, you'll need a handful of basic bits and bobs that most homes already have tucked away. Sharp scissors are essential, along with needles of different sizes, sturdy thread (both matching and contrasting colours), and a reliable pair of tweezers.
A seam ripper is absolutely brilliant to have on hand – rather like that first morning cuppa, it's one of those things you simply can't do without.
Pop down to your local haberdasher's and pick up some polyester stuffing – it's usually around £3 a bag and perfect for giving worn bears a proper plump-up. Mind you, if you're working with older bears, particularly the vintage sort, you might need to hunt down specialist bits like mohair patches or glass eyes from proper craft shops.
It's worth keeping safety pins, fabric glue, and a small torch nearby – those dark corners of your bear's insides can be rather tricky to navigate.
Should you find yourself tackling more complicated fixes, you'll want to add felt pieces, fabric patches, and embroidery floss to your collection.
Don't forget a thimble – your poor fingers will thank you when you're pushing needles through tough fabric.
And if you're dealing with one of those jointed bears with those fiddly wires, a small pair of pliers will be your best mate.
Fixing Loose Seams and Tears
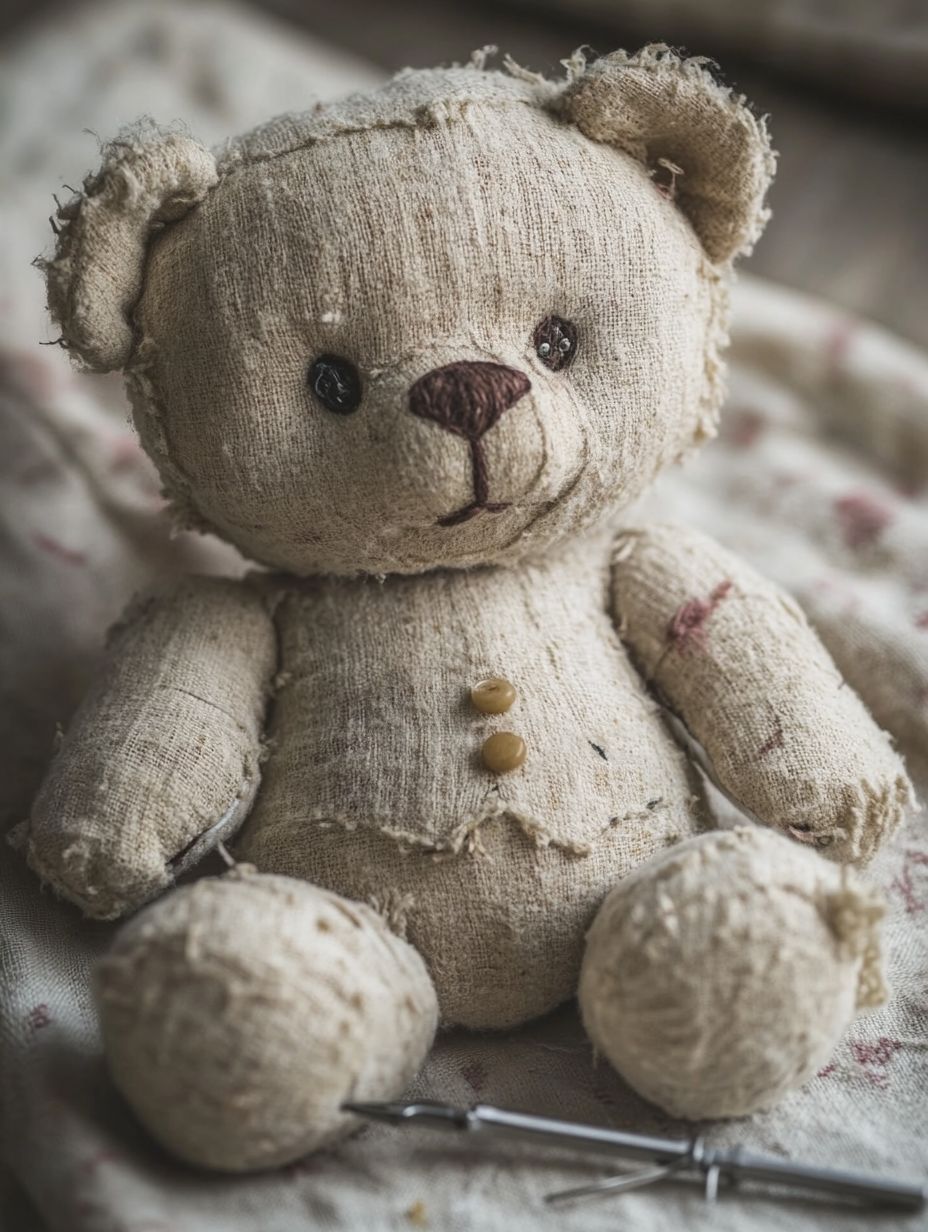
Mending Loose Seams and Tears
Got those bits and bobs ready? Brilliant – let's tackle those annoying tears and loose seams that seem to pop up on every well-loved teddy. They're always in the same spots, aren't they? Right where the arms meet the body or wherever tiny hands grab hold most often.
If you can manage it, turn your teddy inside out (much like you'd with a tatty jumper). Sometimes the tear won't let you, and that's perfectly fine. Give any straggly threads a quick trim and line up the edges properly.
Straight tears are dead simple – just grab some matching thread and work a running stitch through, roughly 3mm apart. Those nastier jagged tears need a bit more finesse – a ladder stitch works brilliantly here and practically vanishes when done right.
Sometimes you'll spot seams that are hanging on by a thread but haven't quite given up the ghost. These need a good backstitch running alongside the original stitching to shore things up.
If the fabric's gone a bit threadbare around the tear, nip down to your local haberdashery and grab a matching patch – they're usually less than a pound. Do make sure to tie those knots nice and tight, and trim the thread ends close to stop them catching on everything. There's nothing worse than fixing one problem only to create another!
Replacing Missing Button Eyes
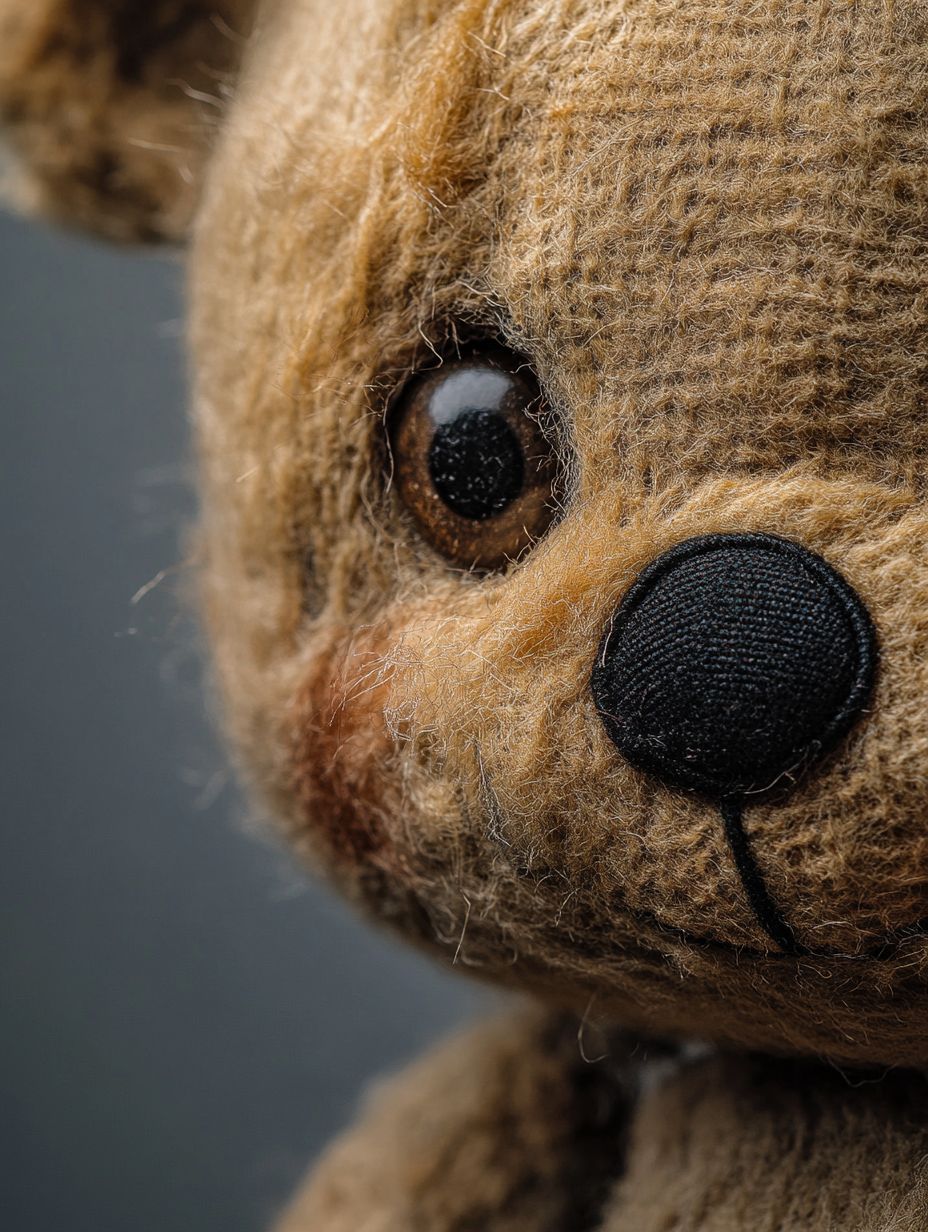
Safety's absolutely crucial when sorting out your teddy's missing button eye – particularly if little ones will be playing with the bear.
You'll want to gather some proper sturdy thread, buttons that match nicely, and decent sewing bits and bobs to ensure everything stays firmly in place.
Have a good look at where the old eye was and clear away any stray threads first. Worth checking if the fabric needs a bit of reinforcement while you're at it.
For your average teddy, you'll want a button roughly 12-15mm across – though do make sure it looks right with the bear's face. Most teddies look brilliant with black or dark brown eyes, but if you're only replacing the one, best match what's already there.
Pop a decent length of strong cotton or polyester thread through your needle – double it up and tie it off properly.
Starting from inside the head, push your needle through and weave it through the button holes at least six times, making a nice criss-cross pattern.
Bit of a tip: stitch a small button or felt circle on the inside of the head for extra stability.
Finish up with a really secure knot on the inside.
Rather satisfying when it's done – your furry friend should be looking proper dapper with its shiny new eye.
Restoring Worn Teddy Bear Fur
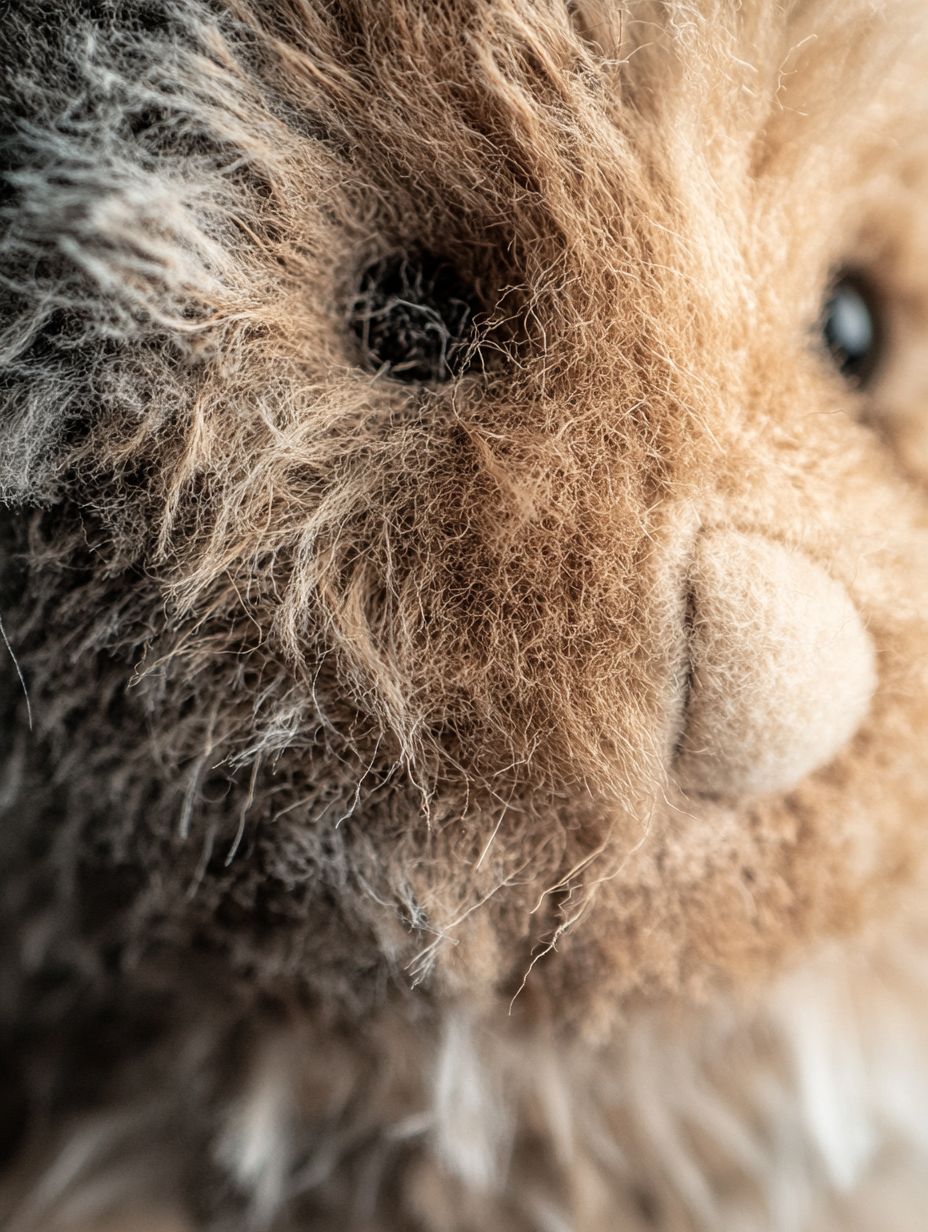
Many cherished old teddies end up looking rather worse for wear, particularly when it comes to their fur. Whilst missing eyes are easily sorted, matted or threadbare patches can seem rather daunting to fix. But don't fret – bringing your beloved bear's coat back to life is quite manageable with a bit of patience.
The first thing to try is a gentle going-over with a soft wire brush, working with the natural grain of the fur. If you're dealing with properly knotted bits, a fine metal comb might do the trick – though mind you don't tug too hard at the mohair or plush.
For grubby bears, it's worth mixing up a dash of wool wash with lukewarm water for a careful spot clean before anything else.
Sometimes you'll find patches that are beyond saving, and that's when you'll need to consider a touch of cosmetic surgery. Pop round to your local haberdashery for a scrap of synthetic fur that's a decent match for your bear.
Cut a piece slightly larger than needed, then carefully stitch it beneath what's left of the original fur using tiny, neat stitches. Once it's firmly attached, blend the new fur into the old with your brush – rather like giving your old chum a proper makeover, though mercifully cheaper than a trip to Harley Street.
Cleaning Your Soft Toy
Let's Talk About Cleaning Your Beloved Teddy
Right then – before you start mending that treasured bear of yours, we've got to sort out the cleaning. Most modern teddies are fairly robust, but do check the label first, especially if you've got a vintage chap or a particularly delicate fellow on your hands. A brilliant trick is to pop your furry friend into a pillowcase, fastened with a safety pin – keeps everything nice and secure, that does.
If your bear's machine-washable (and most these days are), stick it on a gentle cycle at 30°C with a mild detergent. Mind you, if it's a special old bear or you're feeling a bit nervous about the whole thing, hand washing's the way to go.
Fill the washing-up bowl with lukewarm water and a splash of wool wash – nothing too harsh. Give it a gentle squeeze through the fur, but don't get too enthusiastic with the scrubbing. Rather like your favourite woolly jumper, rough handling will only lead to matting, and nobody wants that.
Once you've got your bear sparkling clean, wrap it in a fresh towel and press out the water. Whatever you do, don't wring it out – that's asking for trouble with the stuffing and seams.
Best to let it dry naturally on a radiator guard or airing rack. If the fur's looking a bit flat afterwards, a quick blast with the hairdryer on low heat should perk it right up. Just keep an eye on the temperature – we want fluffy, not singed!
Repacking and Replacing Stuffing
When you peek inside your beloved teddy's seams, you'll find the stuffing that gives the old chap its character. Before diving in, have a proper look at how firmly packed each bit is – getting this right makes all the difference later.
If the existing stuffing isn't too worse for wear, you can actually salvage the clean portions with a good wash and airing on the washing line.
The local haberdashery should sort you out with fresh stuffing options. Polyester fibrefill is rather brilliant and won't break the bank at £3 for a 250g bag. Memory foam bits are lovely and squishy, though I'm rather partial to wool batting for that proper old-school feel.
Whichever you fancy, take it steady – pop in small amounts around 50g at a time, starting with the arms and legs.
The tummy and head are the trickiest bits, mind. They need to be quite firm, or your bear will end up looking rather glum. A knitting needle works a treat for poking stuffing into those fiddly corners – or grab a chopstick from the kitchen drawer if that's handier.
Keep checking how your bear sits as you go along; there's nothing worse than having to undo your handiwork because you've overdone the stuffing.
Conclusion
Let's face it – your beloved teddy bear's seen better days, hasn't it? After countless cuddles and adventures together, even the most cherished teddies need a bit of TLC. Mind you, sorting out those worn patches and loose threads isn't just about keeping your furry mate in one piece – it's about holding onto those precious memories you've shared. Whether you're dealing with a torn seam or patching up balding fur, a dash of patience and proper care will have your faithful companion looking rather splendid again.
Truth be told, there's something quite special about mending these old friends yourself. Rather than bundling them off to a shop, you can settle down with needle and thread, perhaps with a nice cuppa nearby, and give your bear the tender loving care it deserves. It's not rocket science, after all – just a labour of love that'll keep your treasured teddy by your side for years to come.

